Ready to spice up the bajillions of photos stored on your phone?
 GREAT!
Rapid fire tips to edit and uplevel the thousands of photos just sitting on your phone (copies and copies of the same photos, people), so clear ‘em out, choose your favorites and open your favorite editing app (even Instagram) to work on these changes.
- Crop and Straighten – ALL of my photos used to be crooked until a friend told me to follow the horizon line (line up the horizon, building, bricks, or wall crease with the lines that will pop up), you’d be surprised how much straightening your photo helps.
- Edit Out Distractions – get rid of outlets, signs, strangers, odd lines on the edges of photos…either crop them out or use a spot retouch app to quickly make them disappear (I use TouchRetouch).
- Exposure – simple and effective, brighten or darken the exposure making sure the photo isn’t too blown out or grainy.
- Shadows and Highlights – the darker the shadows, the more defined the image will be, you can play with shadows and highlights to find a sweet spot of lights and darks within the image. Brightening highlights can help your image by bringing up the dark spots, but sometimes it can make the light spots “blown out” so you want to avoid taking it too far.
- Warmth – make your image warmer or cooler with a more “yellow” tone or a more “blue” tone. Usually knowing which way to adjust it just depends on the lighting you took the image in. Lamps and overhead lights tend to bring a warmer overtone to the image I personally like to counteract.
- Saturation – take away a tiny bit of the sting of fluorescent colors or bright patterns, bring the saturation or vibrance down a little.
- Sharpen, Contrast, Structure, Texture, Grain – add in any personal preferences!
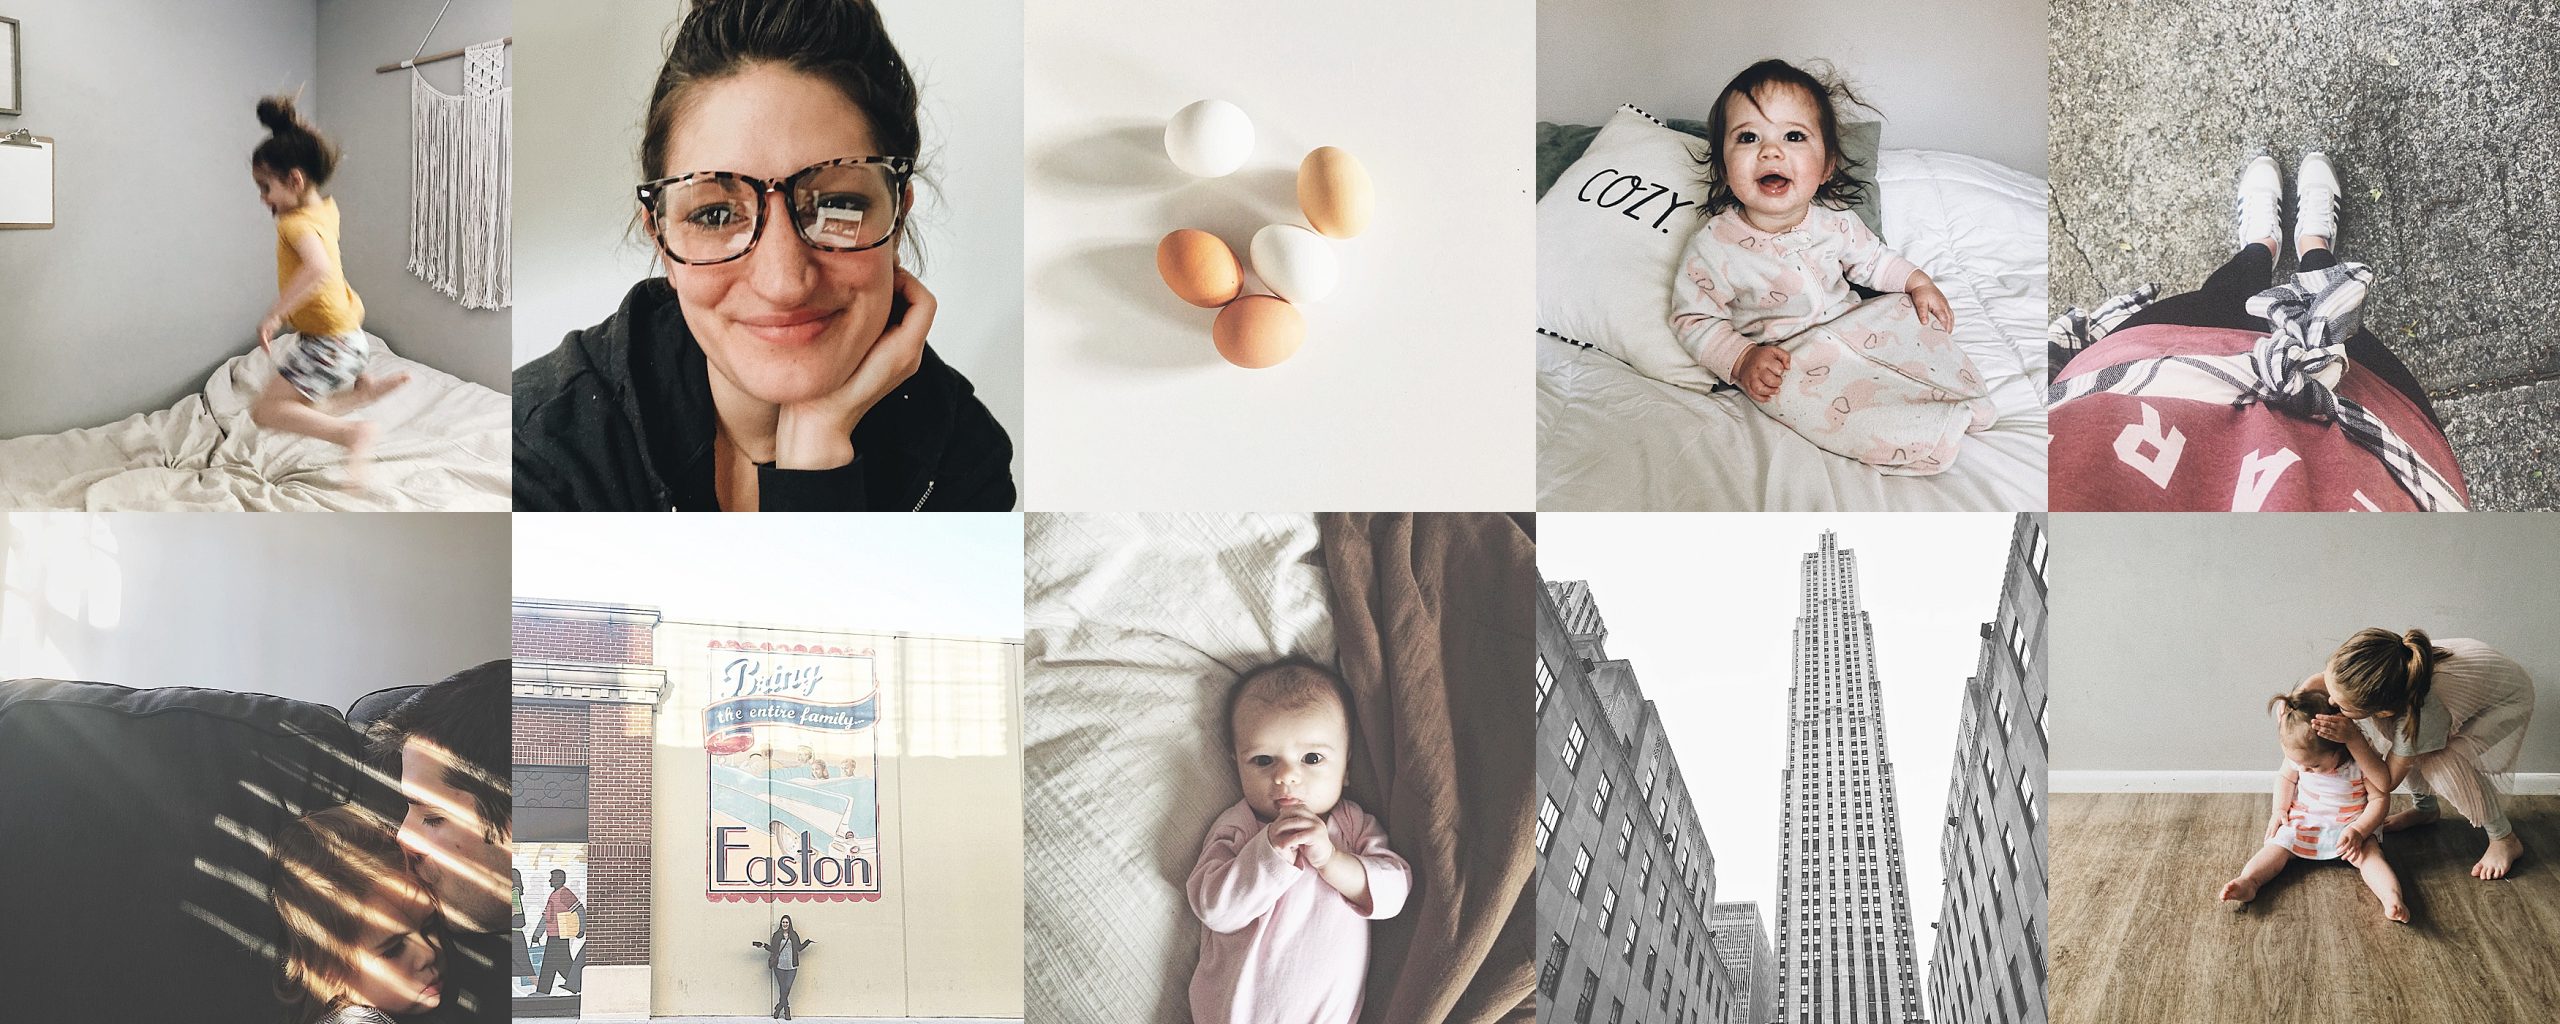
Your personal preferences and style will determine where you are on the scale of those edits, but make it how you want to see it! For example, I love a little grain, dark shadows, warmer tones, but photographer friends of mine love everything smooth, bright and white. It’s up to you! I would suggest playing with each slider and just see what it does to the photo and what you gravitate toward.
My favorite iPhone apps are listed below if you’re interested in looking them up, but like I said Instagram has editing software and dang, so does your phone. Learn your style and start doing something with the piles of images stocked up on your albums.
apps:
-VSCO (I start with one of their presets and tweak from there)
-Afterlight (I use this for resizing and black and white images)
-Instagram (usually use the structure tool to add texture or the tilt shift if I want to blur something)
-ColorStory (I used to use it for brightening whites)
-Lightroom (Haven’t used it, but photog friends swear by it)
That’s all folks, if something in here is helpful, tag me when you post on Facebook or Instagram and I would love to see!